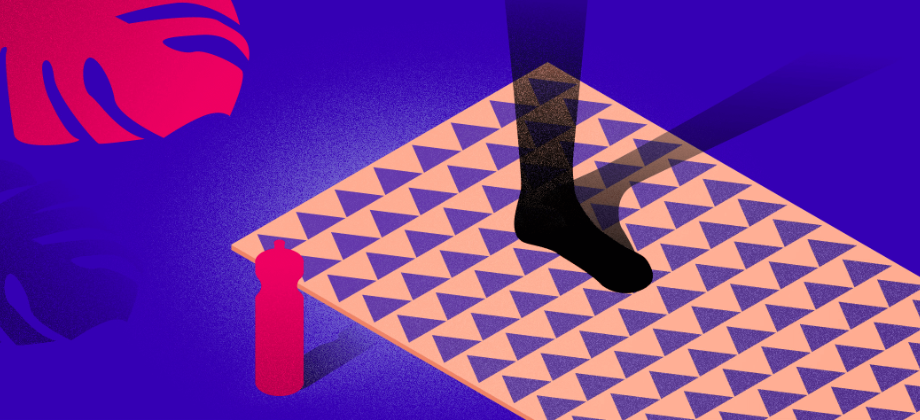
Making Your Way In To Warrior II
In this article we highlight some of the foundational asanas. We also describe common misalignments that are useful to be aware of if you’re a yoga teacher or student.
To prevent injury it is important for students - and of course teachers - to have a strong foundation before moving on to more advanced postures. This way you will build strength and develop body awareness.
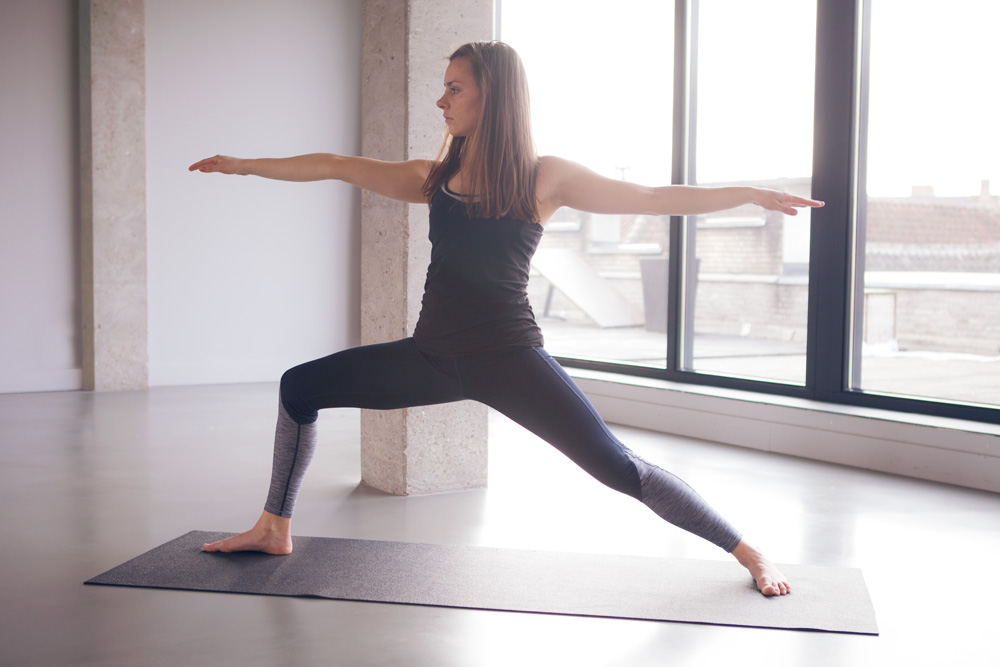
Warrior II – Virabhadrasana B
Sanskrit: Virabhadra = hero, warrior
Virabhadrasana II is one of those postures I have had a love/hate relationship with. When I just started yoga I really thought that this posture needed to be a strong one; that I needed to be a warrior. And so I tensed up, could hardly breathe and felt how my muscles contracted in this pose. Strong became a synonym for tense.
Strong became a synonym for tense
I see this happen often with my (beginner) students. As my yoga practice evolved throughout the years I learned that Virabhdrasana II is not only about feeling strong. It is about feeling strong and light, open. If you can grasp that you begin to fully understand the pose.
This seemingly easy posture requires quite a bit of space in the pelvic area. You will need flexibility to open the hips and keep them open and squared while in a wide stance. It might take some time for your hips to open up like this. Also, in the final posture you want to keep your front upper leg parallel to the floor. This also requires a lot of flexibility and strength. So again, don’t focus too much on this final posture but rather work on your own level, move with ease and a calm breath. Remember that a strong warrior is a light one.
This seemingly easy posture requires quite a bit of space in the pelvic area.
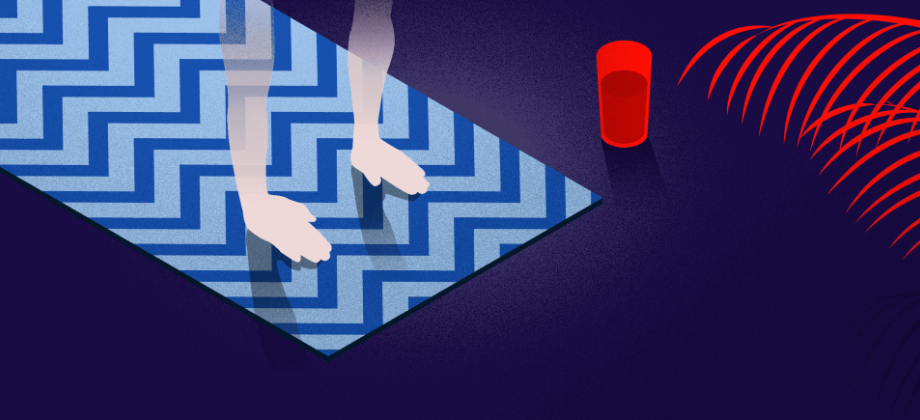
Don't fix on the final posture
Don’t fix on the ‘final’ posture. Rather focus on a version of these postures where you can hold a steady deep breath. Yoga is about moving from body awareness, not from the mind. If you can’t keep your breathing calm, you’re probably going too deep into the posture.
What are the benefits
- Strengthens arms, leg and abdomen
- Stretches hips, groins, ankle, chest and shoulders
- Stimulates internal organs
- Relieves back pain
- Energizes the body
Watch out for the following
- Knee or hip injuries
- Shoulder injuries: place hands on hips
- Neck problems: gaze forward instead of over the fingers of your front hand
Alignment cues
- From Tadasana step away with your right foot towards the back of the mat in a wide stance
- Place the sides of your right foot parallel with the short side of your yogamat, place heels in a straight line or if you prefer, front heel in line with the arch of your right foot
- Raise your arms parallel to the floor. If you can hyperextend don’t overstretch your arms
- Shoulder blades fixated on your back, relax shoulders away from ears
- Belly tucked in, tailbone moves towards the floor so your lower back is in a neutral position
- Look over the fingers of your left hand, gaze into the distance
- On an outbreath bend your left knee so that your knee and ankle are stacked in a straight line
- Torso stays in the middle of the mat, keeping the sides of your torso long
- Right hip is opened and moving away from the front of the mat
- If you can, bend your left leg until upper leg is parallel to the floor
- Hold for 5-10 breaths
- Repeat on the other side
These are the common misalignments
- Front knee collapses. Your knee is to be stacked above the ankle. Most knees bend slightly inward so press it towards the outside. You want to see your big toe.
- Front knee moves past the ankle. Keep your knee and ankle in a straight line. If you see your knee is past your ankle, move your front foot forward
- Torso leans forward. A lot of students when they bend their front knee, their torsos follow. Keep you torso in the middle, stacked above your pelvis.
- Arms not parallel to the floor. This mostly has to do with a lack of body awareness. Correct your students and in time you will see they correct themselves just by giving the verbal cue to keep their arms parallel to the floor.
- Tight shoulders. When students work too hard in this pose or are a bit too concentrated often their necks and shoulders tense. Tell them to relax the shoulders away from the ears and keep the shoulder blades fixated on their backs.
- Pelvic tilts, hollow lower back. To compensate for flexibility in the hips, a lot of students (mostly women) will arch their lower back. Tell students to keep their lower back neutral by tucking in the tailbone. This might mean they can’t bend their front leg as much.